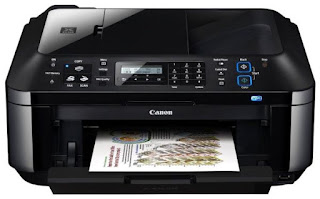
Canon printer MX-410
Change printer cartridges Canon MX-410
Printers usually come with a user guide where you can see the steps to change ink cartridges if you do not have or have lost, you can follow the instructions listed below you.

* Change your printer cartridge when prompted only the printer itself. No need to change the two cartridges at a time, only to be depleted.
- With the printer connected to the computer and the power, check that is on.
- Open the paper output tray.
- Lift the top cover (where the scanner is) to access the cartridges.
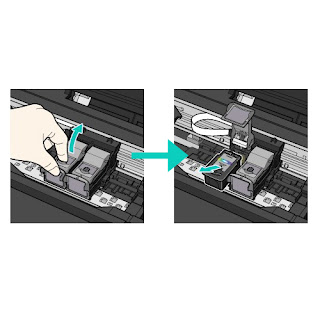
- Extracts the cartridges as shown in the image. First you have to lift the cover that holds the cartridge and then pull it out.

- Take the new cartridge and remove all bearing seals.
- Install it in the corresponding hole and as such was the other cartridge and close the cartridge cover until it clicks. * It is important that the cover is properly closed and straight to fit.
- To close the scanner cover you have to lift slightly this and close smoothly.
If you want more information about Canon MX-410 printer can take a look at our review.
These steps to change cartridges Canon MX-410, also serves the following models of Canon printers:
Canon MX-395, Canon MX-475, MX-525 Canon, Canon MX-535, MX-725 Canon Canon Canon MX-895 and MX-925.
Look at the original post in Consejos Impresoras

No comments:
Post a Comment